What is the best file format for T-shirt printing?
You finished a design, and the print shop asks for "a print-ready file". Which one is that? The short answer: the best file format for T-shirt printing is a PNG with a transparent background at 300 DPI, made at the real size of the print. If your artwork is vector (logos, lettering, flat shapes), send the vector file as well: SVG or PDF.
The rest of this guide explains why, what each format is for, and how to get the right files without resizing anything by hand.
The best file format for T-shirt printing, in one table
| Format | What it is | Use it for |
|---|---|---|
| PNG | A picture made of pixels. It can have a transparent background. | Full colour prints: photos, paintings, textures, gradients. The safe choice for any print shop. |
| SVG, PDF | Vector: shapes described by lines and curves, not pixels. Sharp at any size. | Logos, text and flat graphics. The usual choice for screen printing and for anything that may be resized later. |
| JPG | A picture made of pixels with no transparency. Small files, lower quality on sharp edges. | Photos for your store. Not a good print file for a design that sits on its own on the fabric. |
Why PNG works for every print shop
Three things make a PNG the standard answer.
- Transparent background. The printer puts ink only where your design is. With a JPG, the white or coloured background of the picture is part of the file, so it prints as a box around your artwork.
- No quality loss. A PNG keeps every pixel as you made it. A JPG throws detail away to make the file smaller, and you see it as fuzzy edges around letters and lines.
- Every shop opens it. You don't have to ask what software they use.
So is PNG good for T-shirt printing? Yes, as long as two more things are right: the resolution and the size.
300 DPI at the real print size
DPI means dots per inch: how many pixels the file has for each inch of the printed design. It tells you how sharp the print will be. The standard for clothing is 300 DPI.
DPI only means something together with a size. A print that is 10 inches wide needs 3000 pixels across to reach 300 DPI. The same 3000 pixel picture stretched to 20 inches wide is 150 DPI, and it will look soft. This is why a file that looks fine on a phone screen can print blurry on a chest.
It also works the other way: making a picture smaller on the shirt raises its DPI. If a picture is too small for the size you wanted, print it smaller or find a larger original. Saving a small picture again with "300 DPI" typed into the export window does not add detail.
When to send a vector file
A vector file does not have pixels at all. It stores the shapes themselves, so it stays sharp whether it is printed on a sleeve or across a whole back. Send vector when:
- The shop does screen printing. Each ink colour is printed through its own screen, so the shop splits your design into one layer per colour. Clean vector shapes make that job simple. If you wonder what file format to use for screen printing, vector is the usual request.
- The design is a logo or text. Thin lines and small letters stay crisp.
- The design may be resized. A different garment size, a bigger back print next season: a vector file needs no new export.
One thing to check with text: if the file uses a font the printer doesn't have, the letters can change. The fix is to turn the letters into outlines (shapes) before you send the file.
Tip: a photo or a painting can't be made vector by saving it under a new name. If your artwork is a picture, a PNG at 300 DPI is the right file. Don't worry about vector.
Which file for which printing method
- DTF and direct to garment printing. Full colour methods. The best file to print DTF is a PNG with a transparent background at 300 DPI, at the final size. Some shops want transfer files mirrored: ask whether they do it or you should.
- Screen printing. Vector (SVG or PDF) where possible. Many shops also accept a PNG at 300 DPI for simple designs.
- Sublimation and all over print. The shop prints whole pattern pieces, not one rectangle on the chest. They need one file per piece, with bleed: extra printed fabric past the cut line, so no white edge shows after sewing.
- Embroidery. The embroiderer turns your design into a stitch file. Send a clean vector file or a sharp PNG and the size you want.
Every shop has its own rules, so ask for their file guide before you export. The questions that matter: file type, DPI, maximum print size, and whether they need mirrored files or bleed.
How to get these files from one project
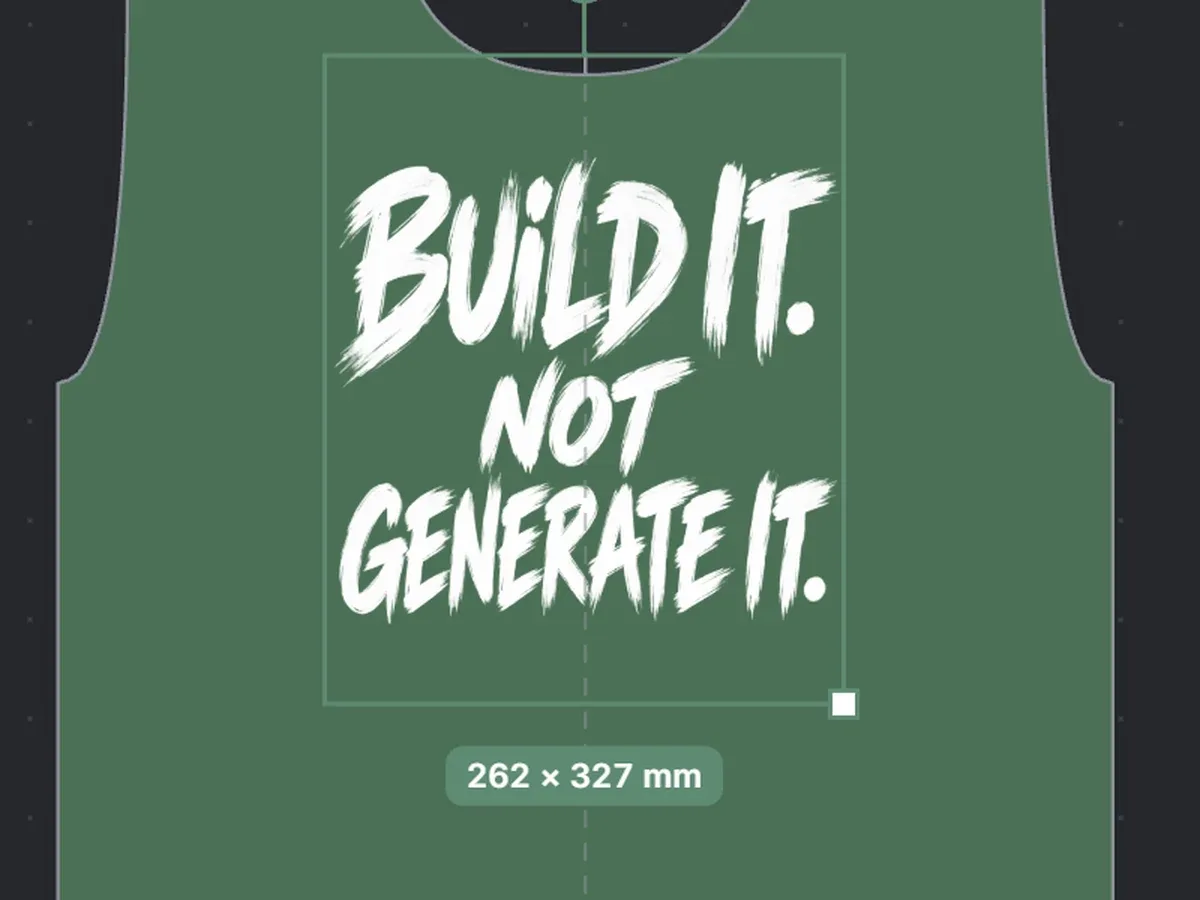
In BlankBuilder you place your artwork on the real sewing pattern of the garment, so every print already has a size in mm, cm or inches. The files come out of the same project.
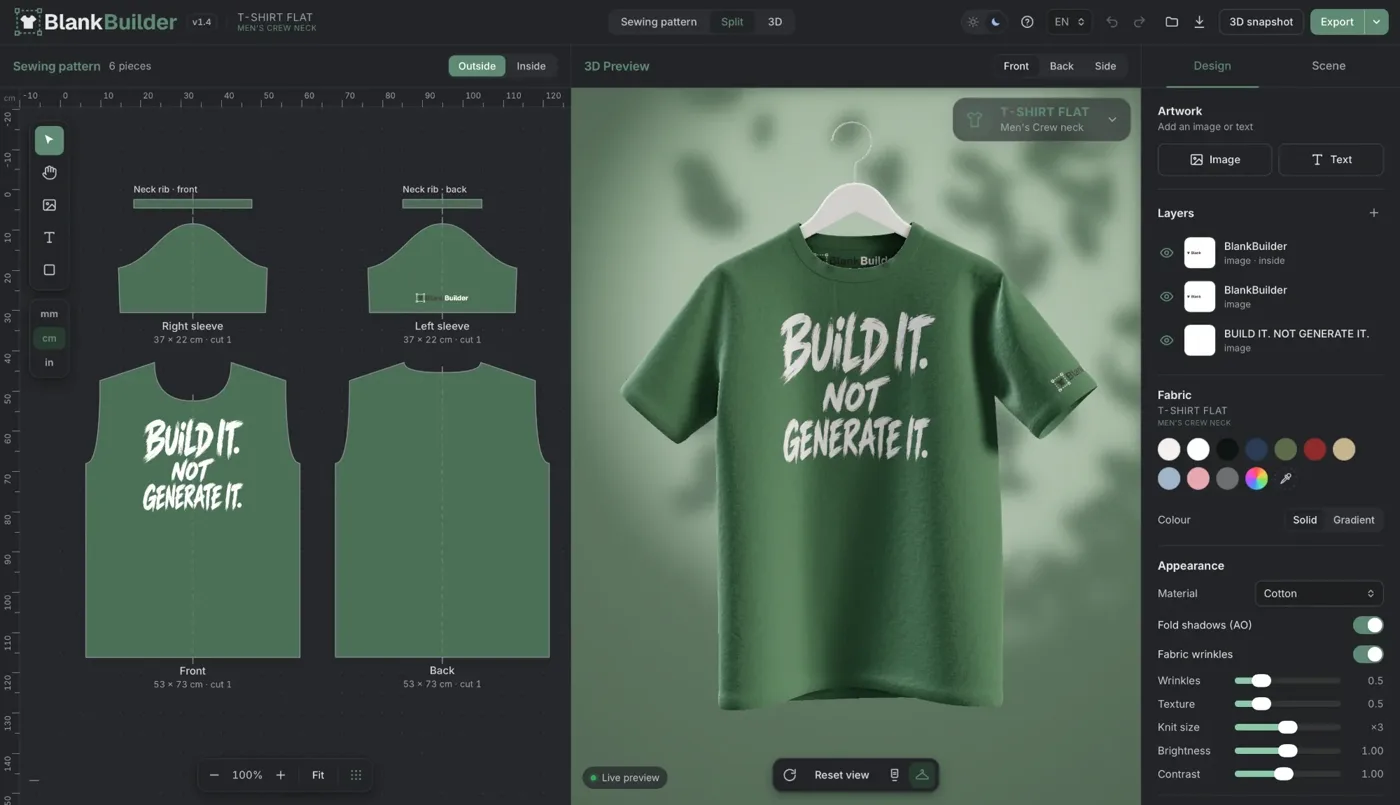
Choose Export, then Print files (ZIP). You get:
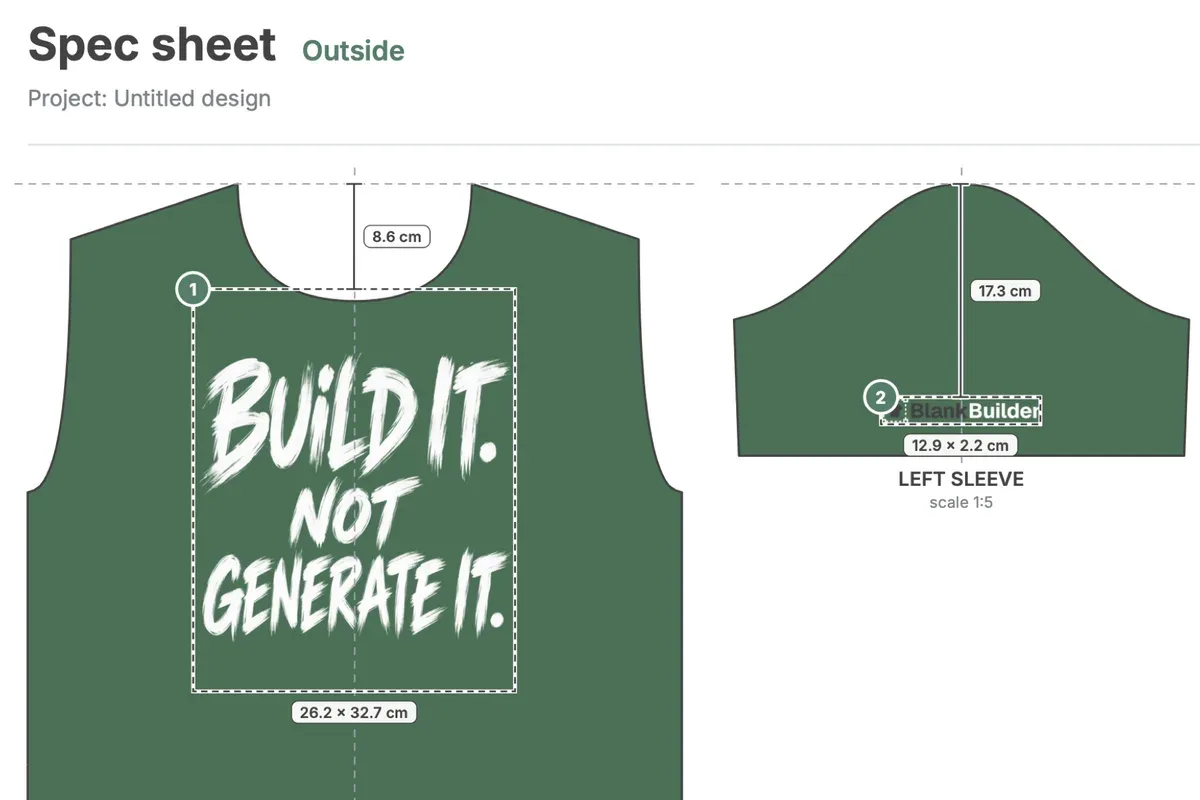
- One PNG per print, with a transparent background, at real size and 300 DPI. The file name carries the garment part and the size, for example front_26.2x32.7cm.png, so the print shop has nothing to resize and nothing to guess.
- Vector where you gave vector. Upload an SVG, PDF or Illustrator (AI) file, and it comes back as vector at real size (SVG or PDF), next to the PNG. Text and shapes you make in the builder come out as SVG, with the letters already turned into outlines, so the printer doesn't need your fonts. JPG and PNG uploads stay PNG.
- The spec sheet (PDF): a page that shows where each print goes and how big it is, in cm or inches.
In the Print files window you choose the file type: Original keeps vector layers as vector, PNG only gives everything as PNG. Vector files come with paid plans. On the Free plan you can try the export: it gives small copies with a watermark.
Before the download, the builder checks every picture. If one would print blurry at the size you chose, it tells you which one and what DPI it has, so you can make it smaller or upload a larger file. And if your blank shirt is a different size from the pattern, tick My shirt is a different size, enter the width of your shirt's front, and the files and the spec sheet are scaled to fit.
For sublimation there is a separate export, Sublimation panels (ZIP): each pattern piece as one full file at 300 DPI, filled edge to edge with your fabric colour, with 5, 10 or 15 mm of bleed. You can add a dashed cut line or mirror the files for transfer printing.
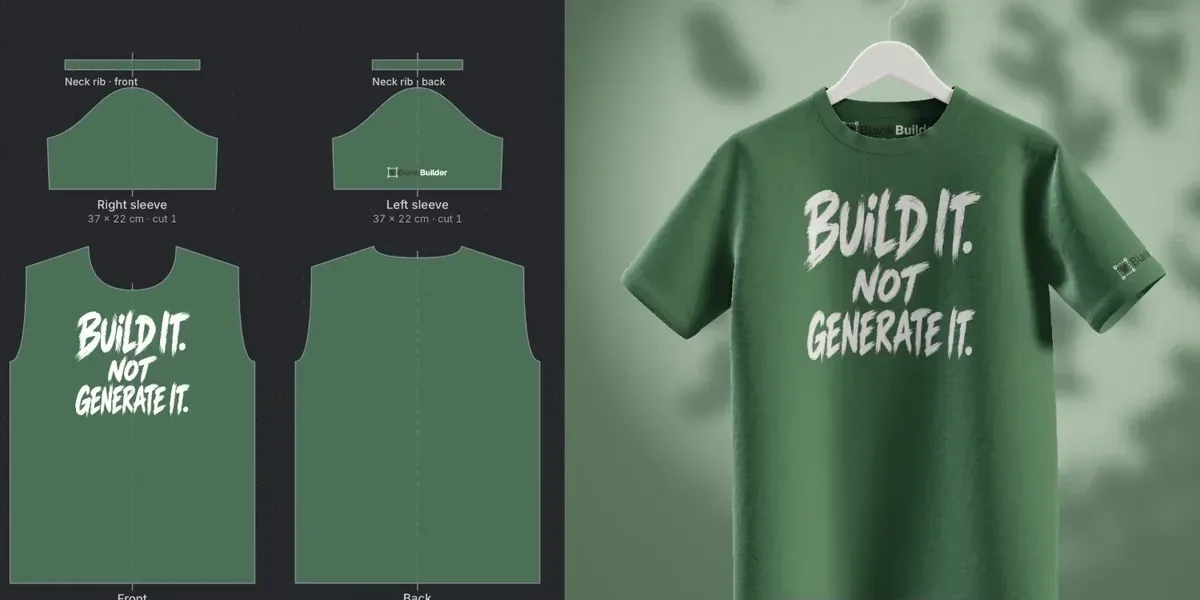
BlankBuilder is design software: it doesn't print or sell clothing. You send the files to your own printer or to any print shop. If you haven't placed your design yet, start with how to make a T-shirt mockup from your own design; for hoodies, see how to make a hoodie mockup that's ready for print. The export limits of each plan are in the pricing section.
A checklist before you send the file
- The file is a PNG with a transparent background, or a vector file (SVG or PDF) if the artwork is vector.
- It is 300 DPI at the size it will be printed, not at some other size.
- The size of the print is written down, in the file name or in a spec sheet.
- Text is turned into outlines in vector files.
- You asked the shop about mirrored files, bleed and their maximum print size.
- You sent one file per print: front, back, sleeve, inside the neck.
Get these right and the answer to "what is the best file format for T-shirt printing" stops being a guess: a PNG at 300 DPI and real size for any shop, plus vector when your artwork allows it.
Questions
Is PNG good for T-shirt printing?
Yes. A PNG with a transparent background, at 300 DPI at the printed size, is accepted by print shops for full colour methods such as DTF and direct to garment printing. The transparent background means only your design is printed, not a box around it.
What file format is best for screen printing?
A vector file, such as SVG or PDF, is the usual choice for screen printing, because the shop separates the design into one layer per ink colour and vector shapes stay clean at any size. Ask your shop which type they prefer.
What is the best file to print DTF?
A PNG with a transparent background at 300 DPI, already at the size you want printed. If the shop asks for mirrored files, ask whether they mirror them or you should.
Can I send a JPG to a print shop?
You can, but a JPG has no transparent background, so the background of the picture prints as a box around the design. Save the design as a PNG with a transparent background instead.